
The Team plan gives everyone on your team Web Text Expander Plus and a shared set of shortcuts that you manage from one dashboard. Setup takes about ten minutes. This guide covers each step in order: buying seats, creating your team account, inviting members, adding team shortcuts, choosing who sees them, and what your teammates need to do on their side.
In short: buy seats on the Team plan page → name your team and set a password → invite members by email → add shortcuts in the dashboard → members install the extension and sign in with the invited email. Team shortcuts then show up in their extension automatically.
Step 1: Choose your seats and pay
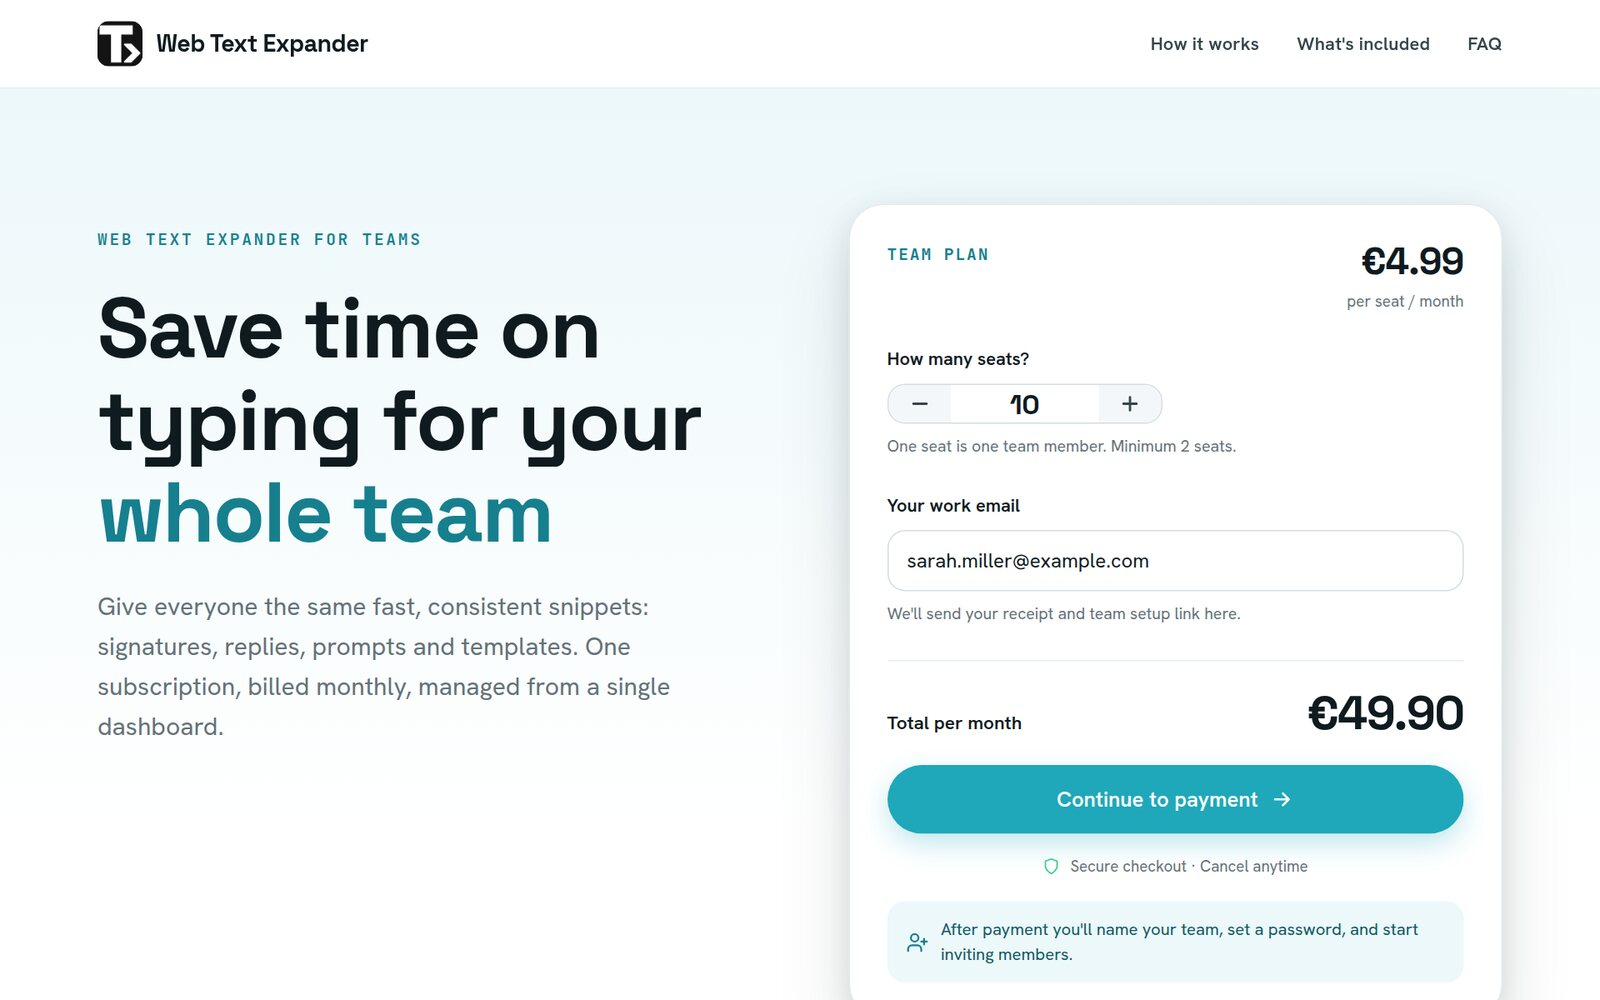
Open the Web Text Expander for teams page. In the Team plan card:
- Set How many seats? One seat is one team member. The minimum is 2 seats.
- Enter your work email. Your receipt and the team setup link are sent there, and it becomes the login for your team dashboard.
- Check the Total per month and click Continue to payment.
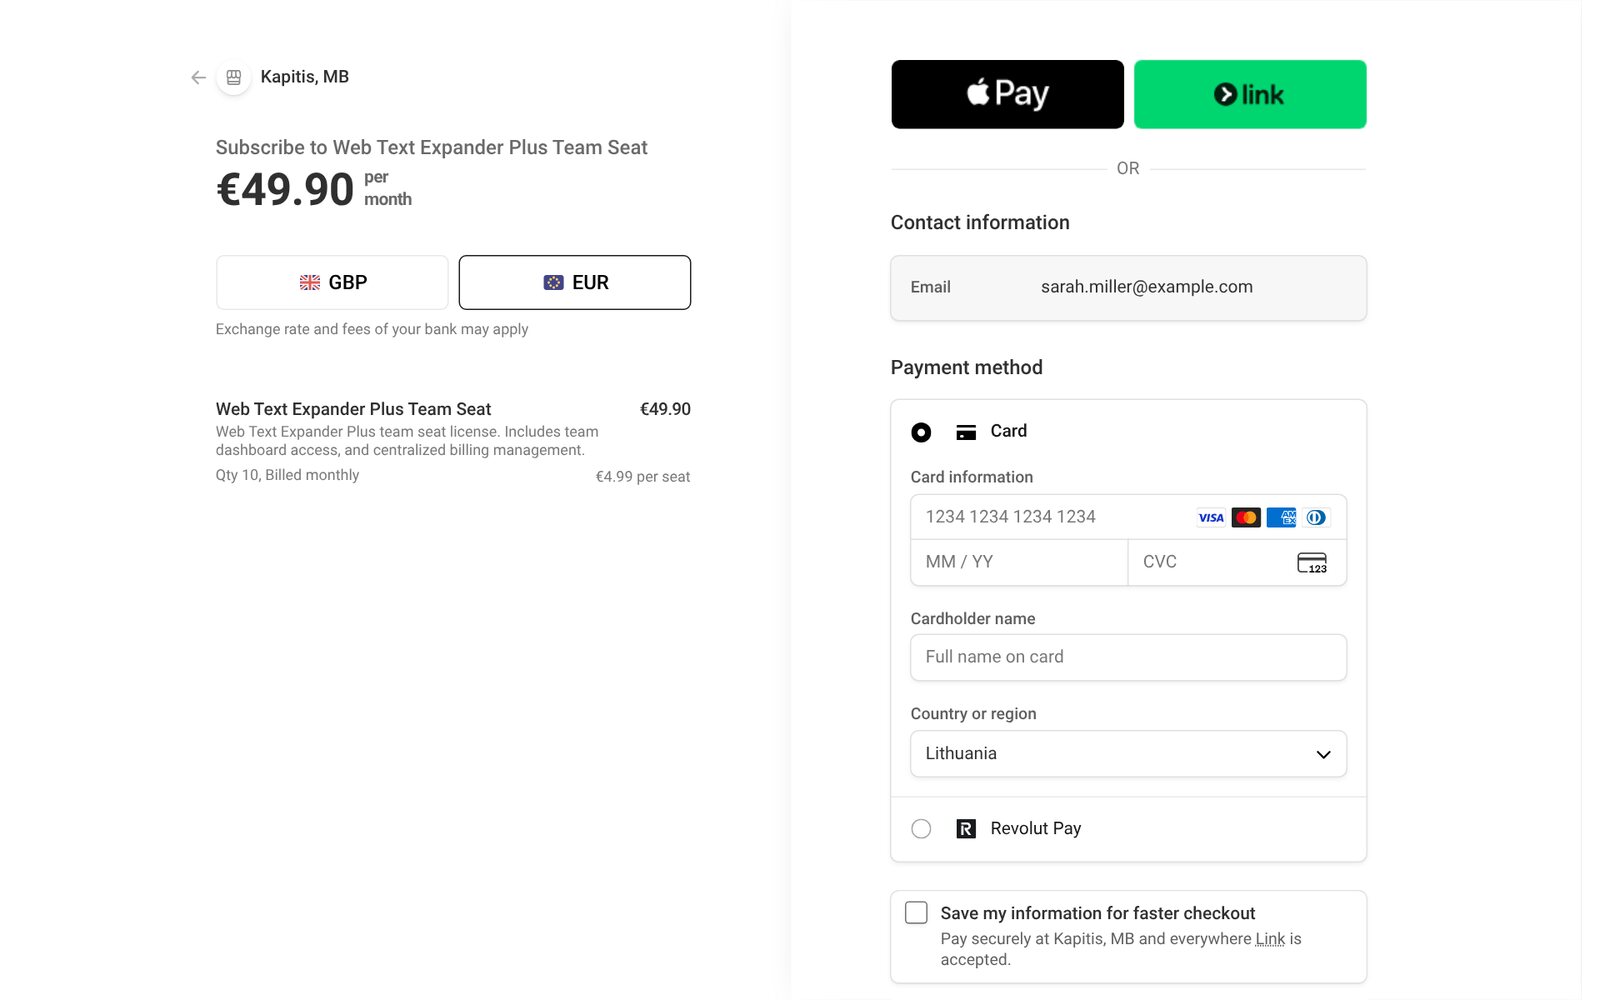
You're taken to our secure checkout page. Your email is already filled in, and the order summary shows the seat count and monthly price. Enter your payment details and confirm the subscription.
Not sure how many seats you need? Start with your current team size. You can add or remove seats any time later from the dashboard (see Step 8). If you're reducing seats, remove members first: the seat count can't go below the number of members on your team.
Step 2: Name your team and set a password
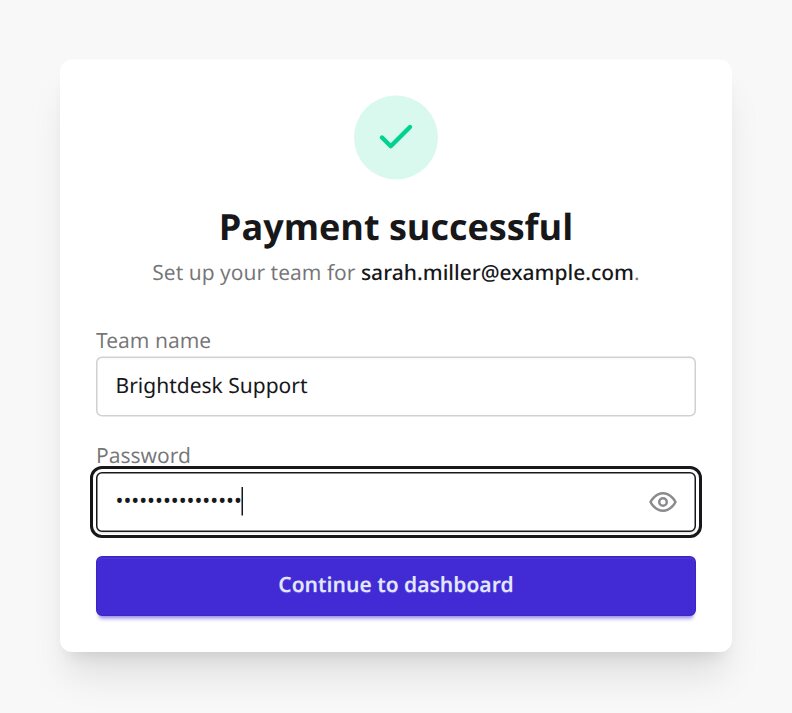
Right after payment you land on the team setup page. Type your Team name (for example, your company or department), create a Password and click Continue to dashboard. Your team account is created and you're signed in straight away.
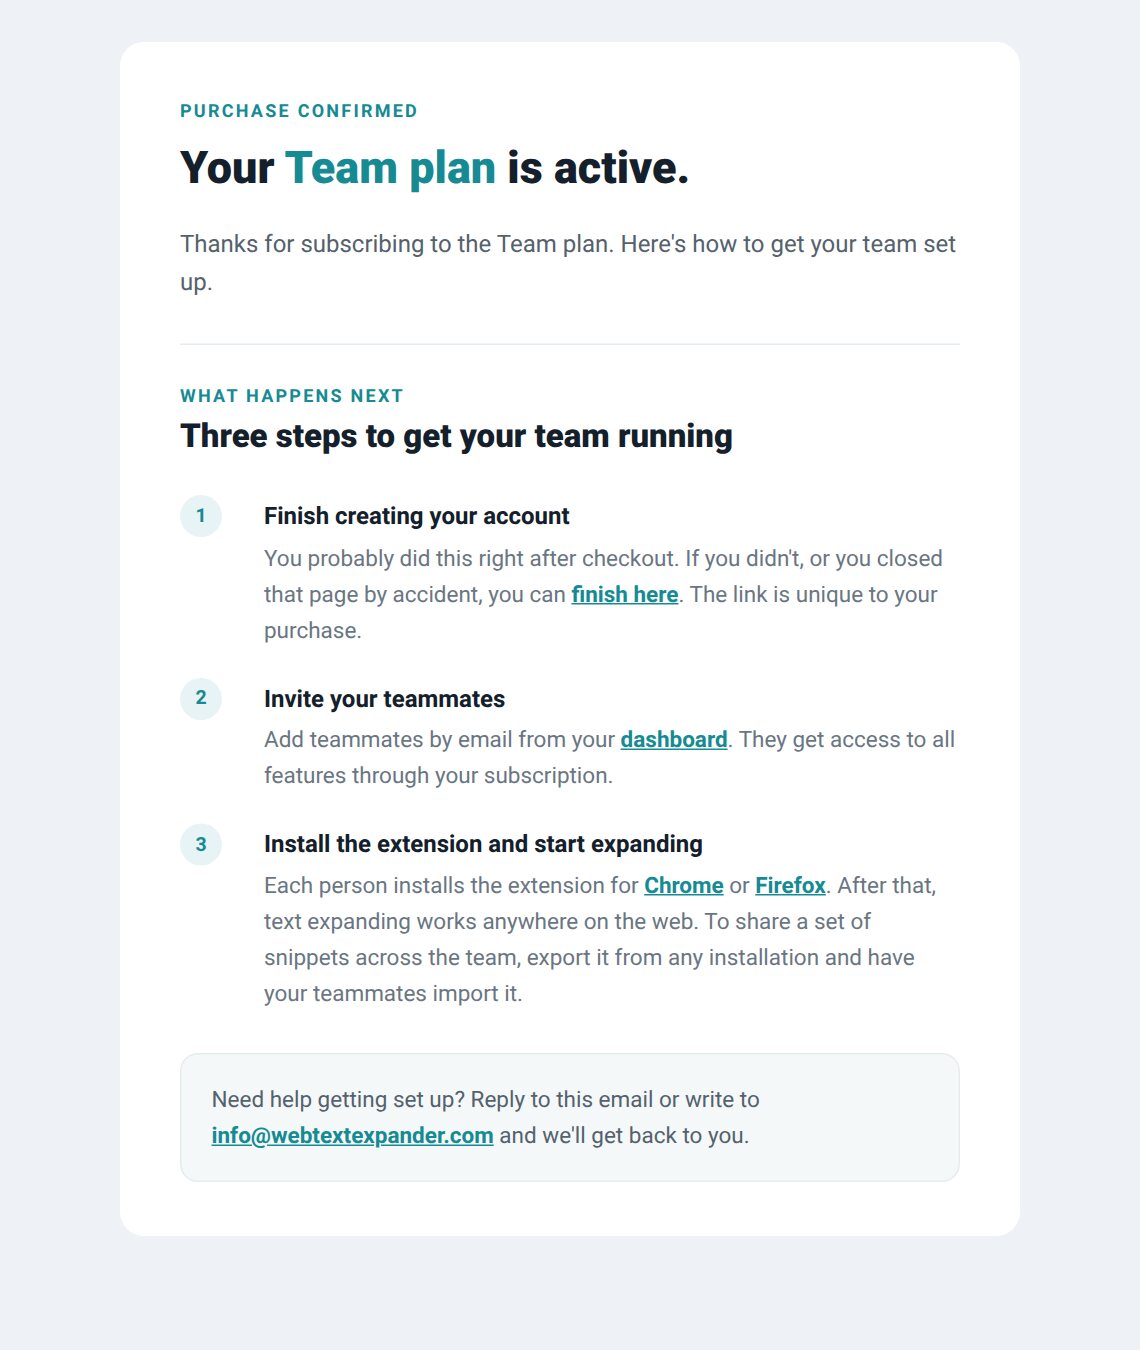
We also send an email with the subject "Your Web Text Expander Team plan is active". If you closed the setup page by accident, click finish here in that email to get back to it. The link is unique to your purchase.
"Confirming your payment…" If the setup page shows this message, keep the page open. It usually takes a few seconds for the payment to be confirmed. If it takes longer, use the link in the email above.
Step 3: Sign in to the team dashboard
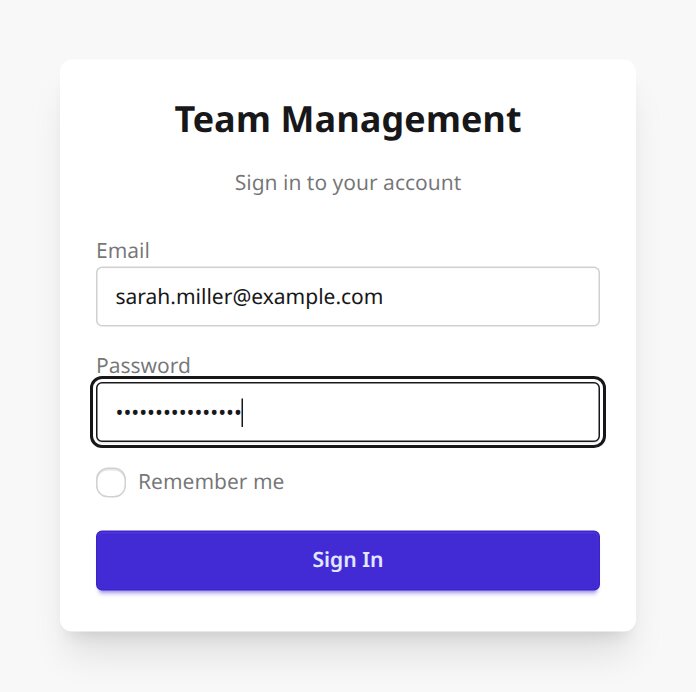
Next time, open webtextexpander.com/team and sign in with the email you used at checkout and the password you just created. Tick Remember me to stay signed in on this computer.
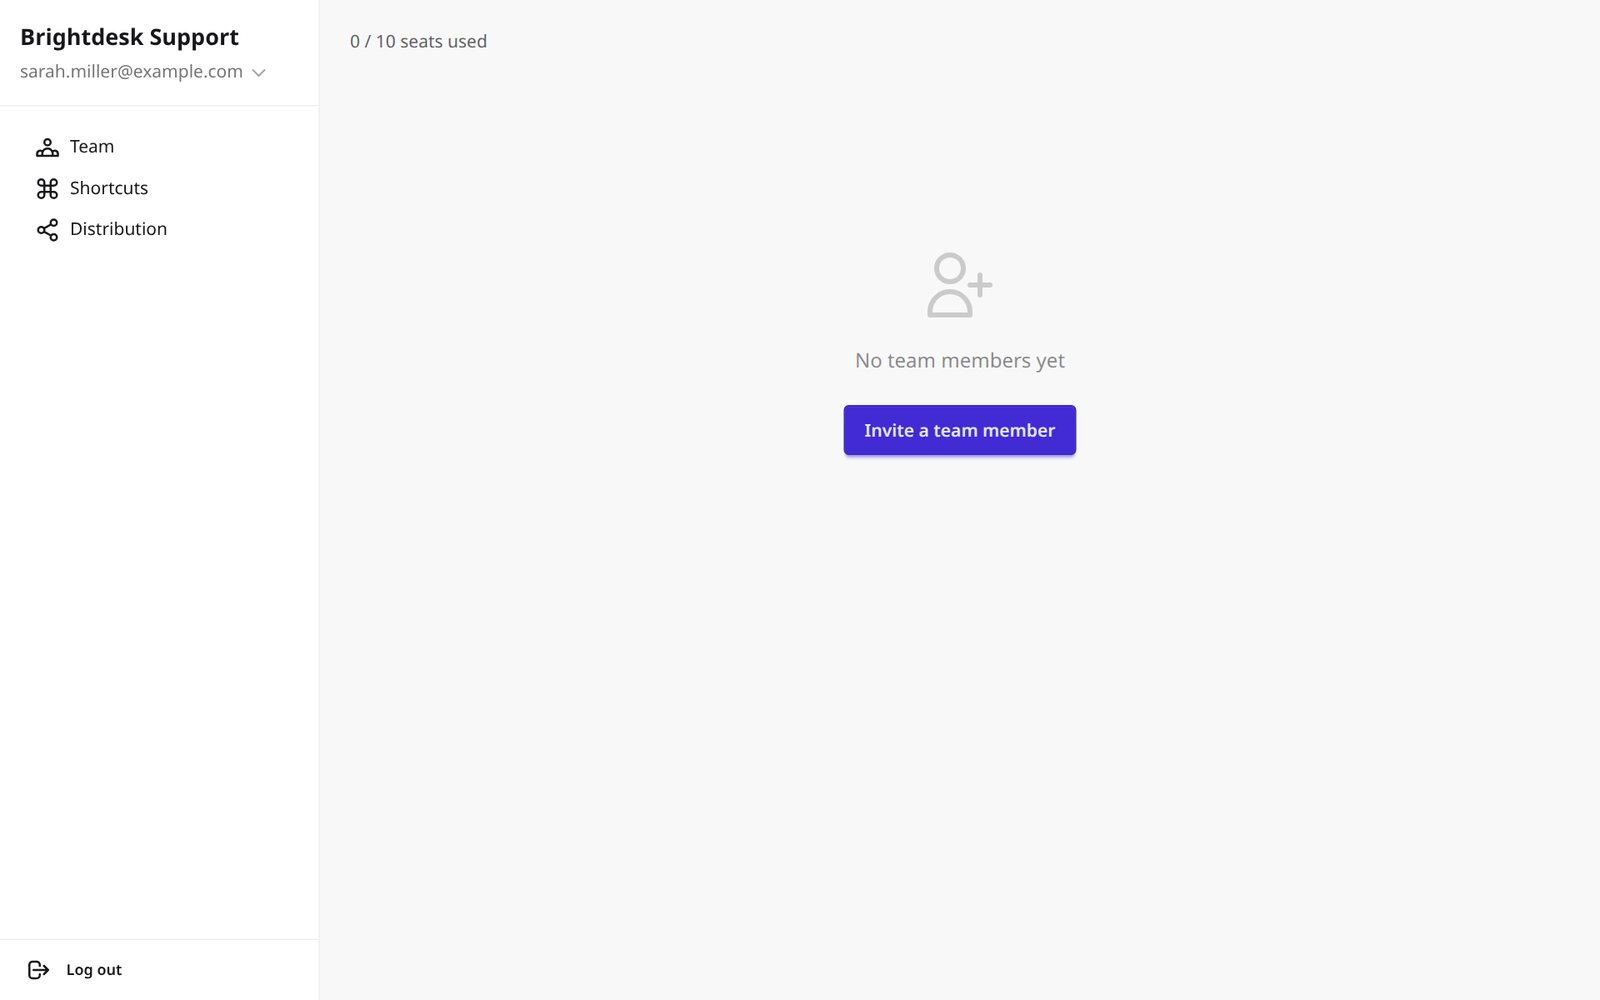
The dashboard has three sections in the sidebar: Team (your members), Shortcuts (shortcuts shared with the team) and Distribution (who gets which shortcuts). A new team starts empty, and the top of the Team page shows how many of your seats are in use.
Step 4: Invite your team members
Click Invite a team member (or Invite once your list isn't empty) and fill in:
- Role: leave it as User for people who only use the extension. Click What can each role do? to see the options.
- Name and Email address: use the email your teammate will sign in to the extension with, usually their work email.
- Subteam (optional): a group such as Support or Sales. Subteams let you give different groups different shortcuts (see Step 6). Type a new name to create one, or pick an existing one from the suggestions.
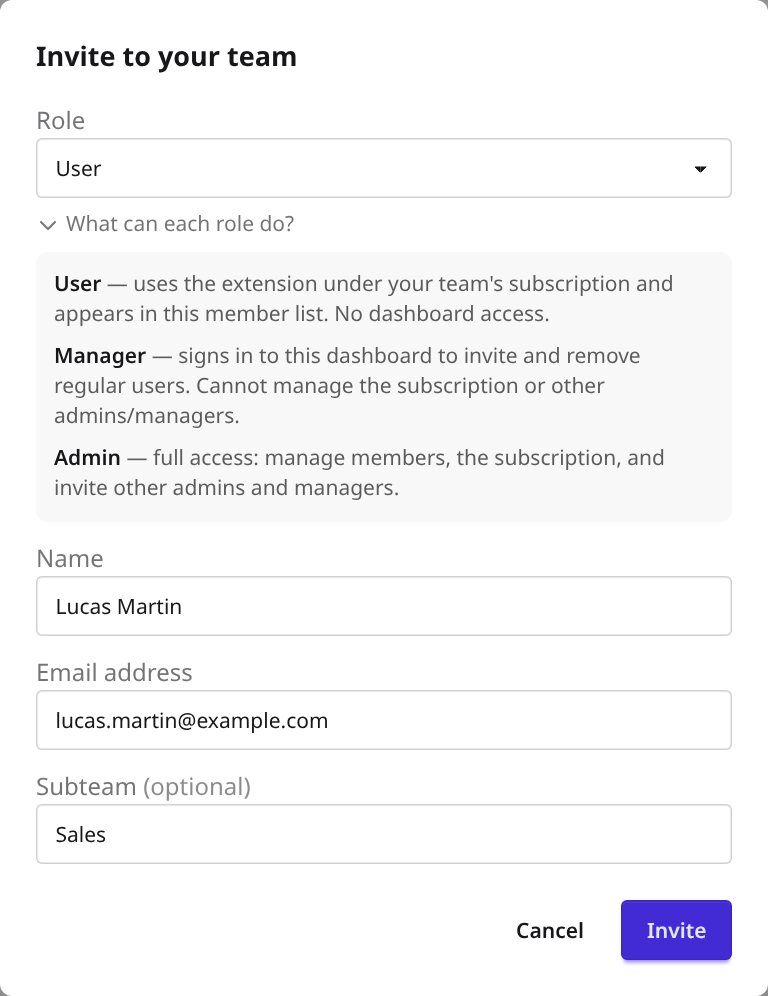
The three roles work like this:
- User: uses the extension under your team's subscription and appears in the member list. No dashboard access.
- Manager: signs in to the dashboard to invite and remove regular users. Can't manage the subscription or other admins and managers.
- Admin: full access, including the subscription and inviting other admins and managers.
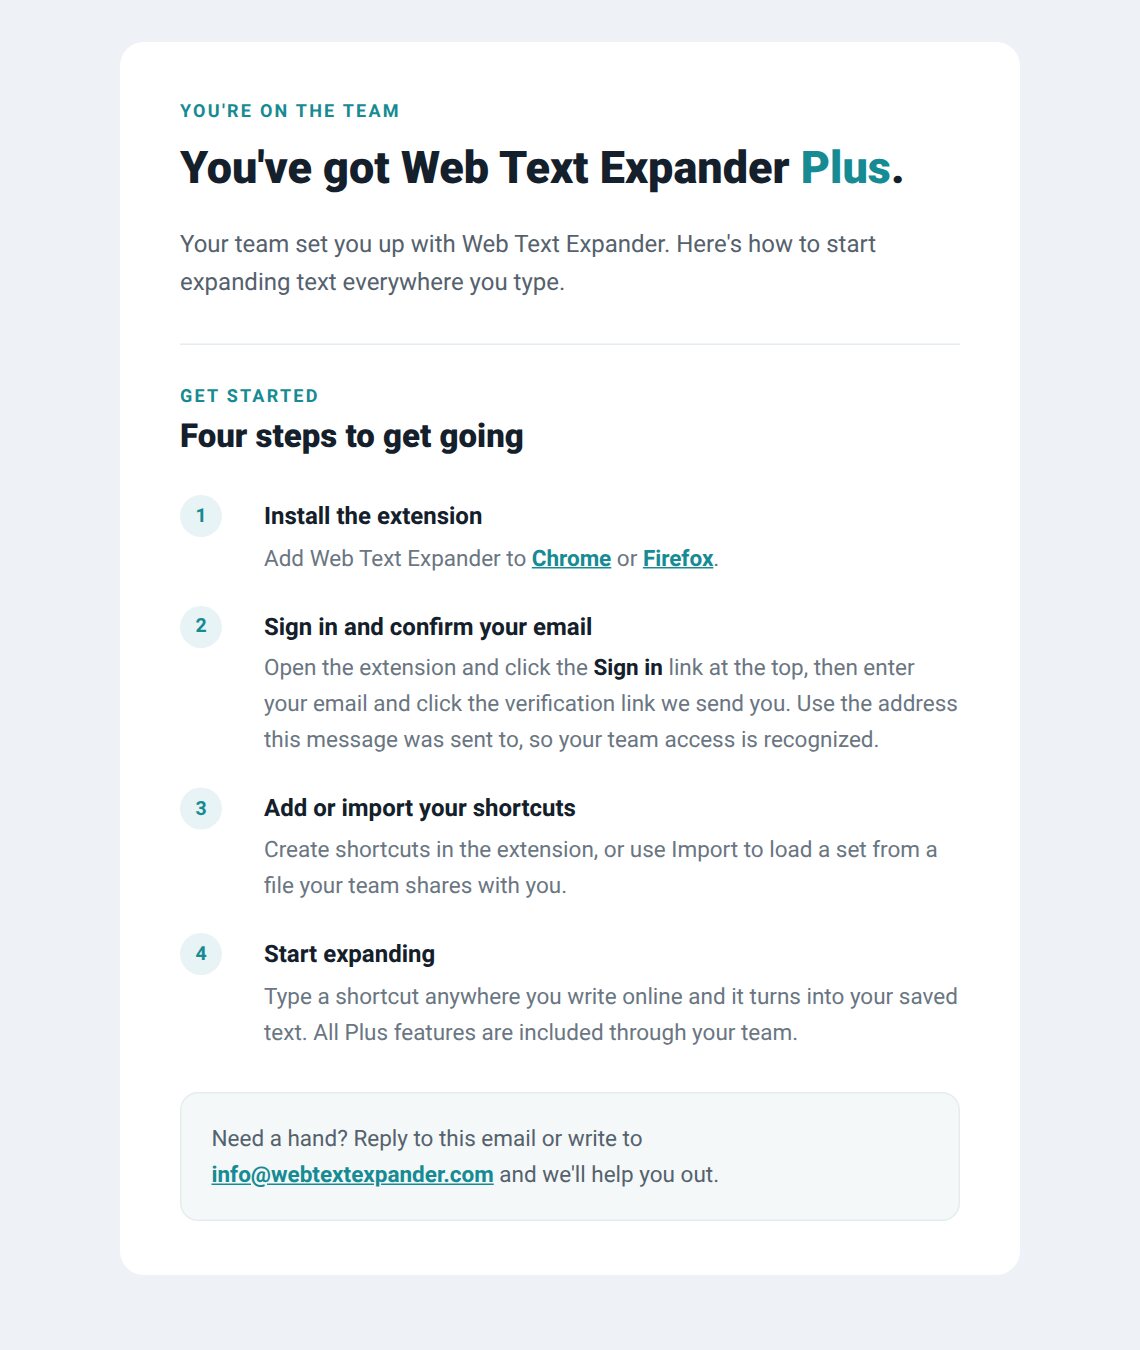
Click Invite. Their Plus access is ready right away, and they get an email titled "Get started with Web Text Expander" that explains how to install the extension and sign in. Managers and admins get an email with a link to set their own dashboard password instead.
Repeat for everyone on your team. As people start using the extension, the list shows how many shortcuts and symbols each person has expanded. Switch between Last 30 days, Last 3 months and All time, click a column header to sort, and change someone's subteam directly in the Subteam column.
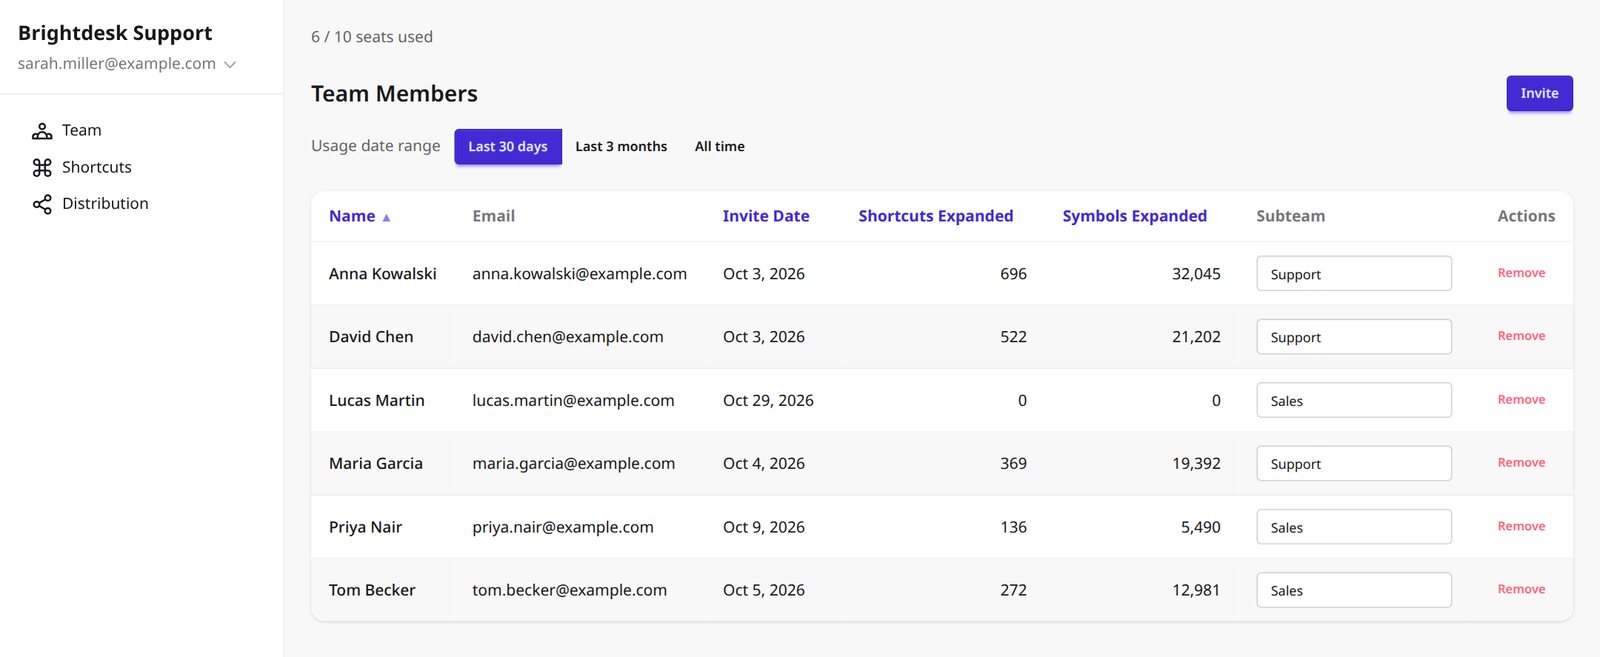
Removing someone? Use the remove action in their row. Their team access ends and the seat becomes free for someone else.
Step 5: Add your team shortcuts
Open Shortcuts in the sidebar. Shortcuts you add here are shared with your members and appear in their extension, ready to use. To add one:
- Click Add new shortcut (or Add your first shortcut on an empty page).
- Under Shortcut, type the trigger, for example
hi//. Ending triggers with a character like//stops them from expanding by accident (see our guide to good shortcuts). - Under Expands to, type the text. You can use bold, italics, lists and links.
- Click Add category, type a name such as Support and press Enter. Categories keep the list organized and control who gets which shortcuts.
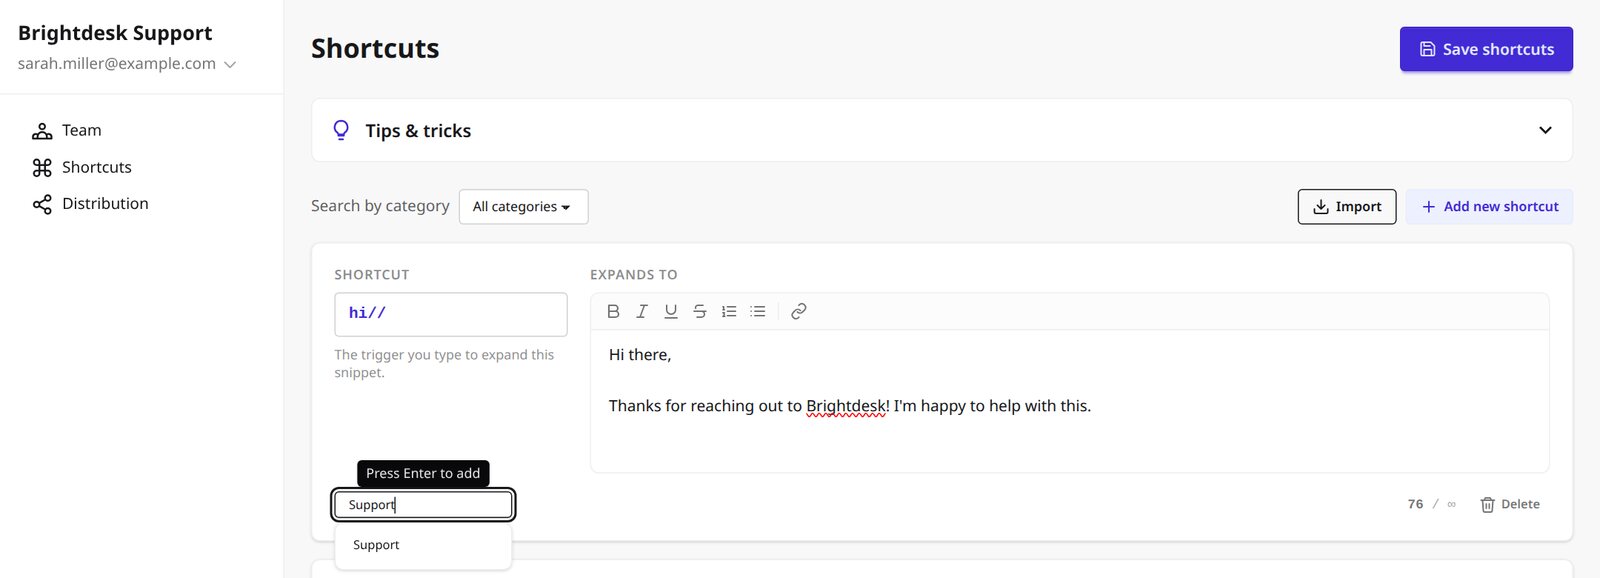
When you're done, click Save shortcuts in the top-right corner. Nothing is shared until you save.
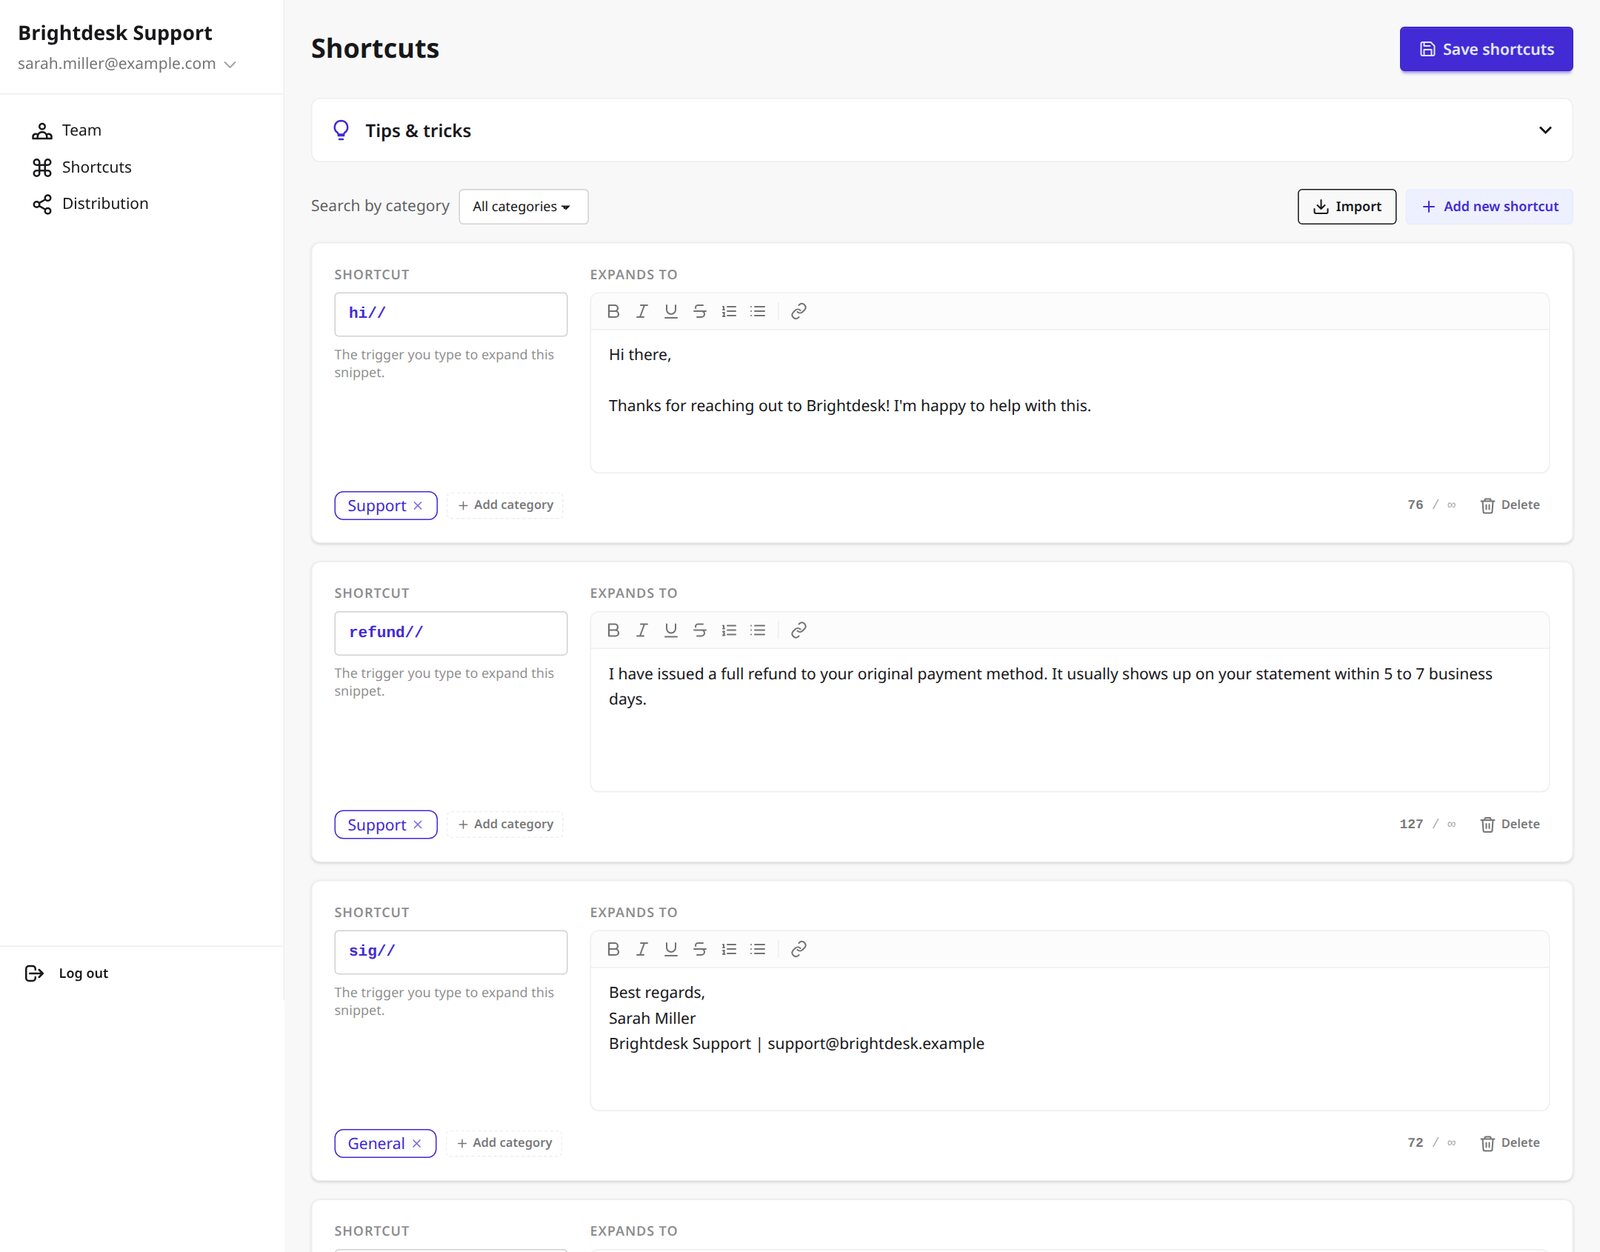
Already have shortcuts? Export them from the extension as a CSV file (Options → Export) and load the file with Import on this page. Open Tips & tricks to learn about extras such as inserting the current date.
Step 6: Choose who sees which shortcuts
Open Distribution. By default the setting Share all shortcuts with everyone decides what members get:
- On: every member gets every team shortcut. This is the simplest option for small teams.
- Off: each subteam only gets the categories you assign to it.

To share by subteam, turn the setting off. For each subteam, click Assign category and pick the categories it should get. In the example below, Support gets the Support and General shortcuts, while Sales gets Sales and General. Click Save changes.
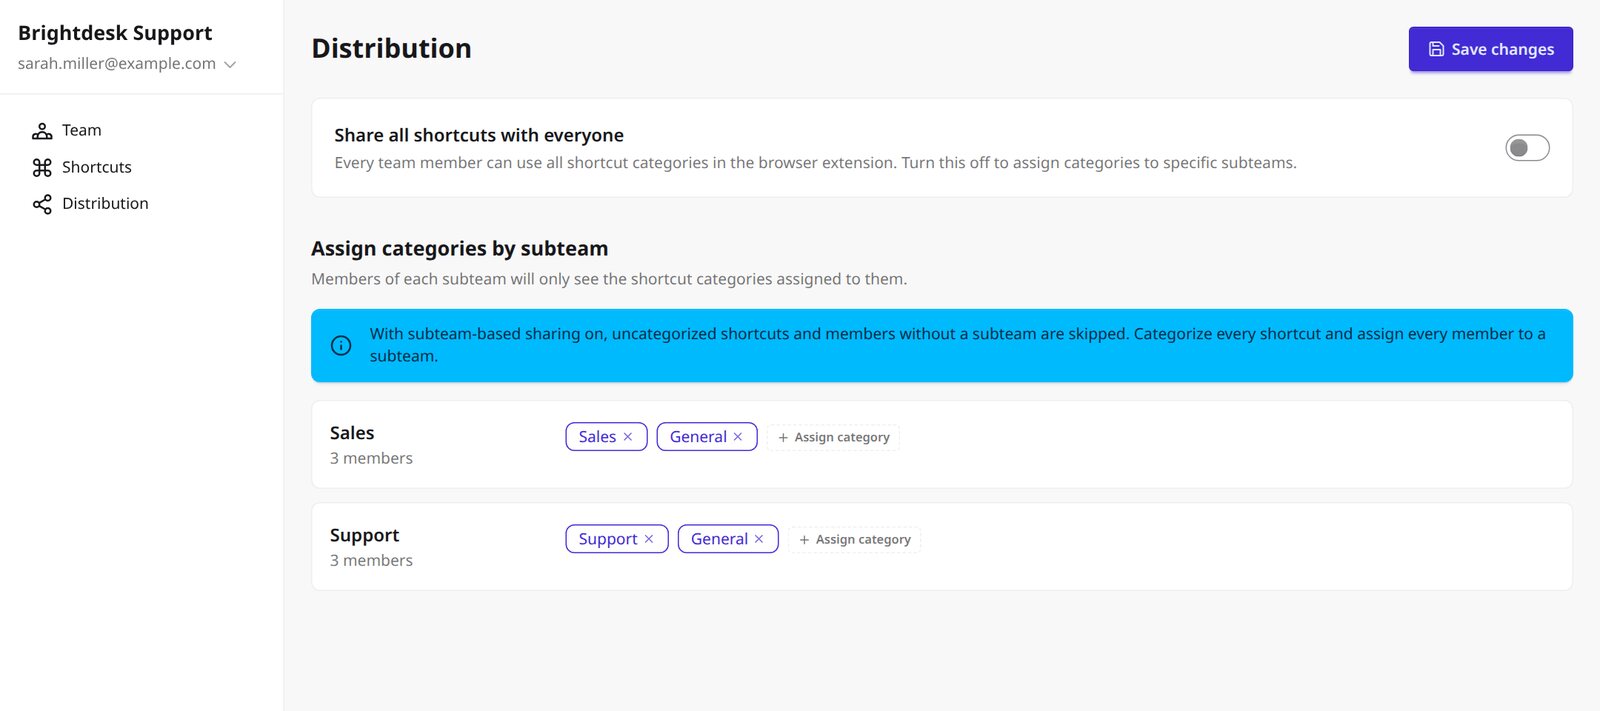
Check for gaps. With sharing by subteam, shortcuts without a category and members without a subteam are skipped. Give every shortcut a category and put every member in a subteam.
Step 7: What your team members do
Each member needs to do this once. You can forward them this section or rely on the invitation email, which has the same steps.
- Install Web Text Expander for Chrome or Firefox.
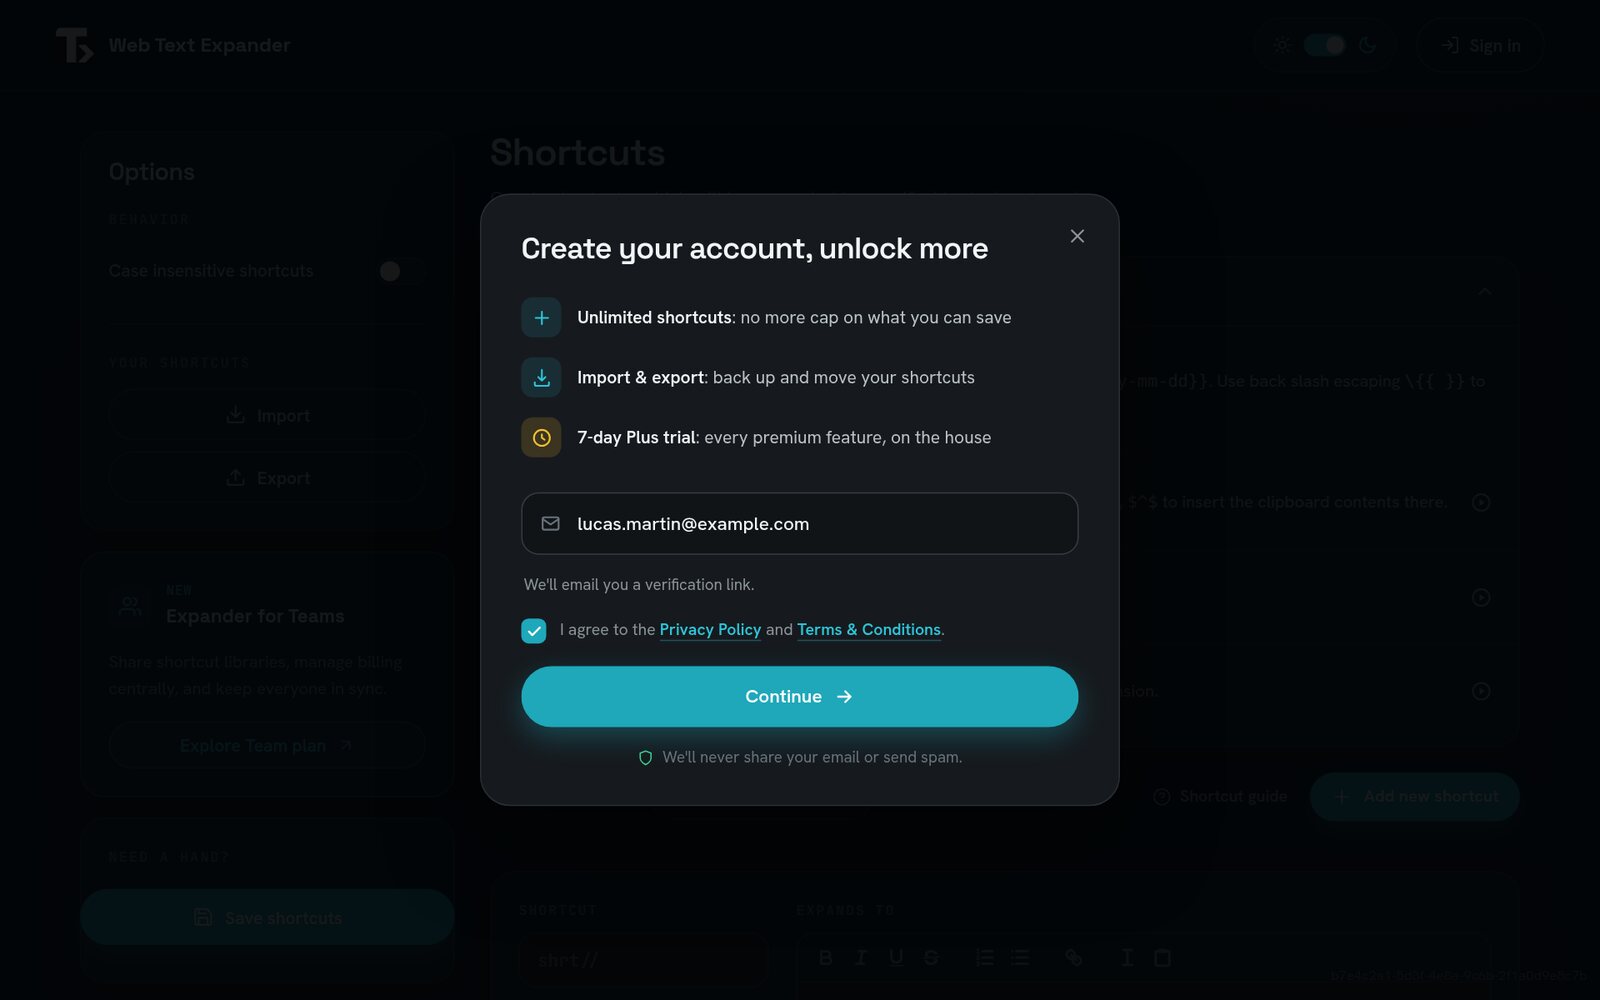
- Open the extension's options page and click Sign in in the top-right corner.
- Enter the same email address the invitation was sent to, accept the terms and click Continue.
- Open the verification email and click the link to confirm the address.
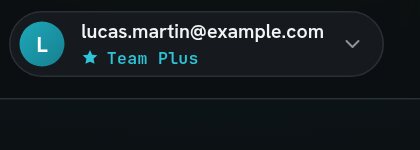
Once the email is confirmed, the account menu shows Team Plus, and all Plus features are unlocked.
The team's shortcuts appear under Team shortcuts on the options page, marked Team and Read-only. Only admins and managers can change them in the dashboard. Members can still create their own personal shortcuts next to them. The example below is a member of the Sales subteam, so they get the General and Sales shortcuts but not the Support ones.
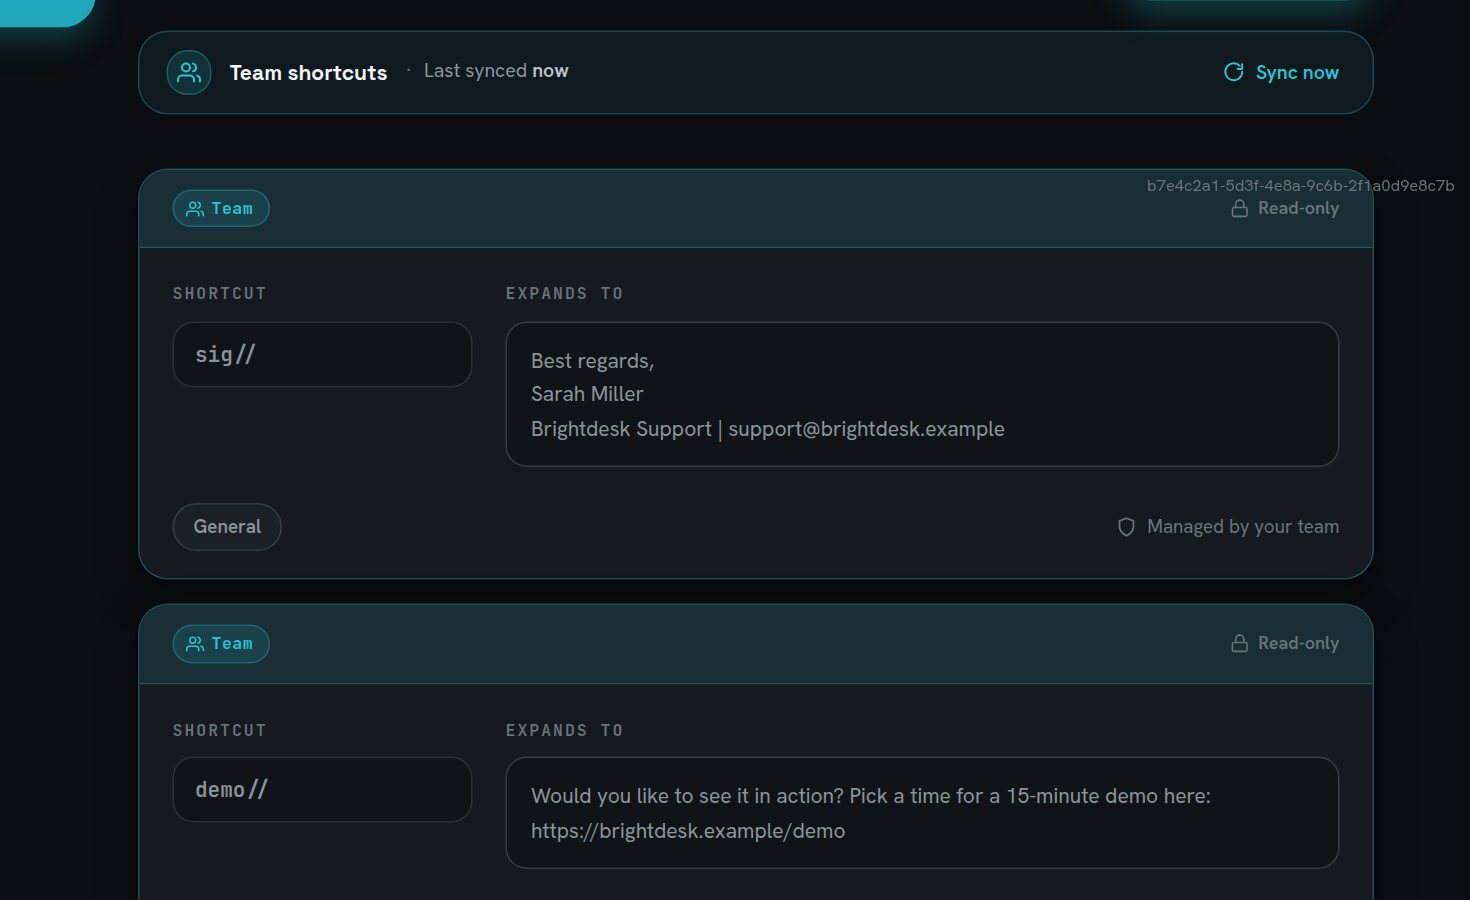
Changes reach everyone automatically. The extension checks for team shortcut updates every hour and when the browser starts. To get changes right away, a member can click Sync now in the Team shortcuts bar.
Step 8: Change seats or manage your subscription
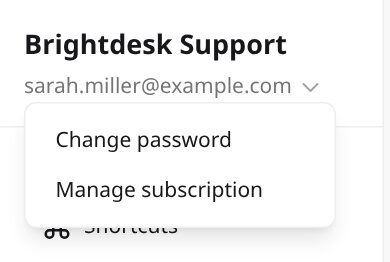
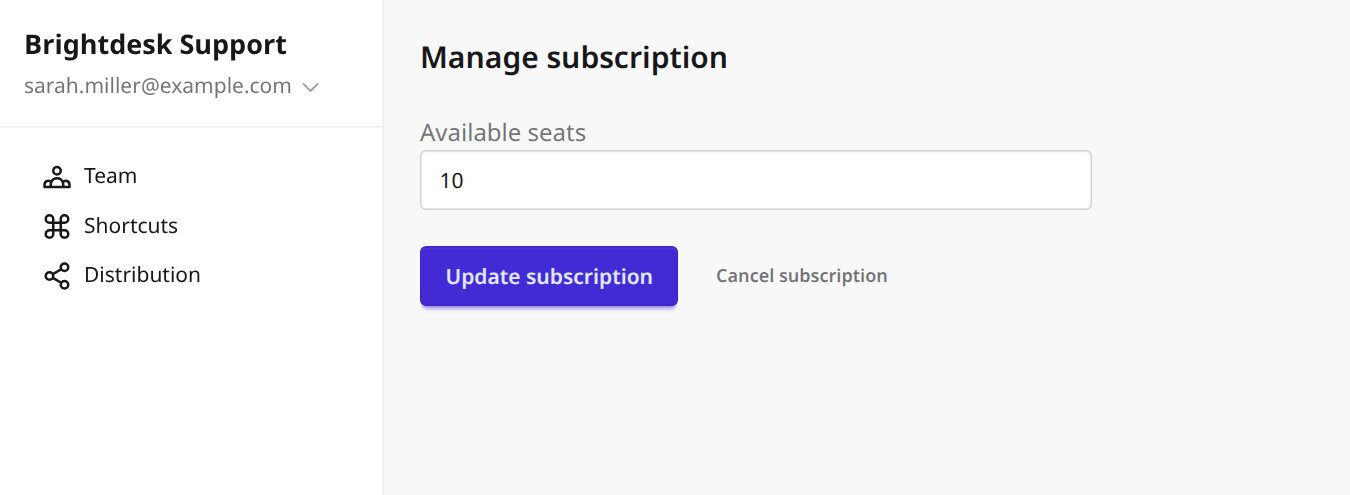
Admins can manage billing from the dashboard. Click the arrow next to your email at the top of the sidebar and choose Manage subscription. In the same menu, Change password updates your dashboard password.
Enter the new number under Available seats and click Update subscription. You'll see the new seat count before you confirm. If you're reducing seats, remove members first: the seat count can't go below the number of members on your team. To stop the plan, click Cancel subscription. Your team keeps access until the end of the current billing period.
Frequently asked questions
Does the person who buys the plan take up a seat?
No. Admins and managers who only use the dashboard don't count as seats. If you also want to use the extension under the Team plan, invite yourself as a member.
A team member doesn't see the team shortcuts. What should I check?
Make sure they signed in to the extension with exactly the invited email and clicked the verification link. If you share by subteam, check that they're in a subteam and that the subteam has categories assigned. Once their account menu shows Team Plus, ask them to click Sync now in the Team shortcuts bar.
Can members edit team shortcuts?
No. Team shortcuts are read-only in the extension so everyone uses the same approved text. Admins and managers edit them in the dashboard, and the changes reach everyone on the next sync.
Do members need to pay anything?
No. Invited members get all Plus features through your team's subscription.
I need help with setup.
Write to info@webtextexpander.com and we'll help you out.